T-Touch For Horses
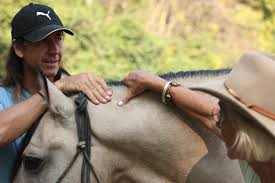
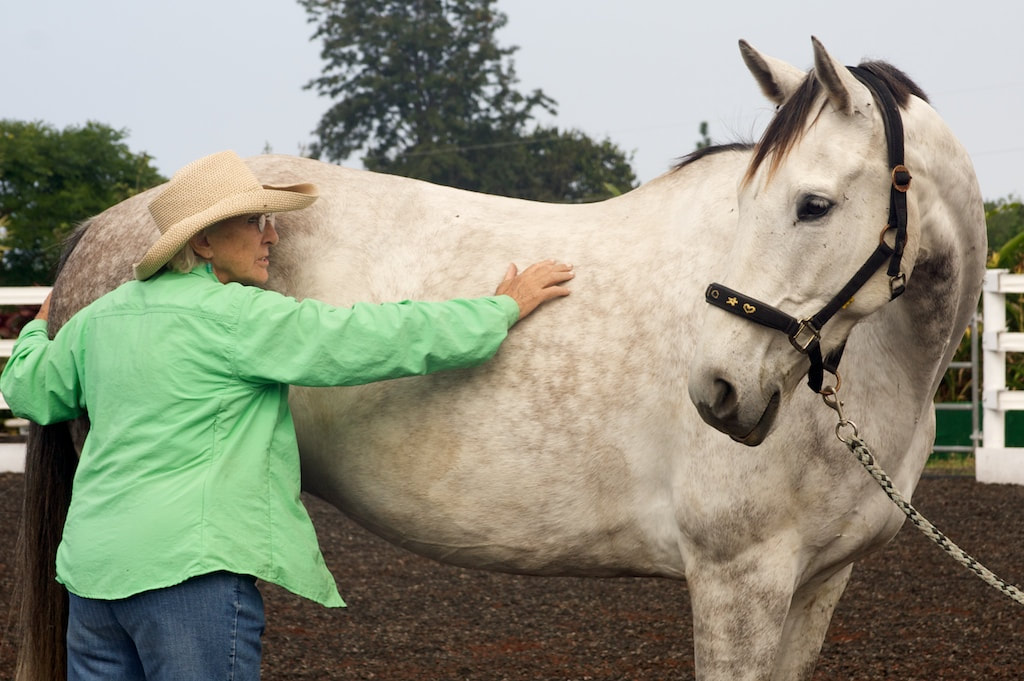
Hand T-Touch
First
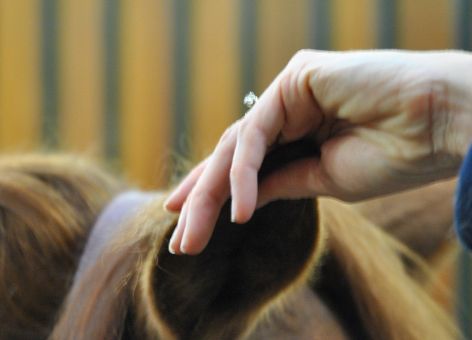
Begin a touch by imagining the face of clock. The clock can range from 0.5 to 1 inch in diameter. Place your lightly curved forefinger at six o'clock.
Second
Support the body gently with your free hand by placing it opposite of the active hand. This will help keep the horse in balance and enhance the effects of the T-Touch.
Third
Rub in a clockwise motion for one and a quarter circles taking care actually to move the skin and not just rub over it. Keep a steady rhythm and pressure when rubbing. Pressure can be light or firm, but it is important to pay attention to the roundness of your circle.
Forth
Place your thumb from the active hand two to three inches from your active forefinger, and feel a connection between the two fingers.
Fifth
Continue to another random spot after each circular T-Touch. You also can proceed in parallel lines on the body by executing a touch and sliding your hand to the next location. Whether you execute one touch, random touches or parallel touches, all methods will induce relaxation and improve self-confidence.
Wrap T-Touch
First
Allow your horse to sniff the bandage. Stroke his shoulder with a folded up bandage to ensure he is calm and unafraid of the new object.
Second
Take the folded bandage and pass one end under the neck to your other hand, keeping one end in each hand. At this point, both ends should meet on one side of the withers.
Third
Tie a quick release knot, placing the knot on a fleshy spot rather than a bony area.
Forth
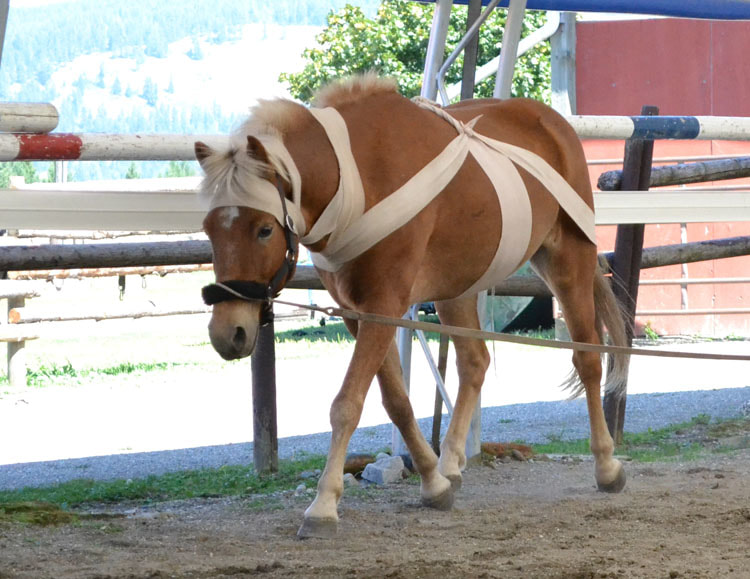
Allow your horse to move, walking and stopping a couple of times. You have now applied a “Base Wrap”.
At this point, many horses will begin to lower their heads and adopt a more functional posture, simply from this first bandage around the base of the neck. When riding high-headed horses, attaching a Body Wrap to the front rings of the saddle can make a huge difference. Once you are confident your horse is comfortable with the Base Wrap, you can continue to the next step.
Fifth
Take the second bandage and place one end near the knotted ends of the neck wrap. If your horse is larger or longer, you may need to tie two bandages together to make the hind end piece. Unroll the bandage quietly as you stand next to the horse’s shoulder.
Sixth
Once the bandage is unrolled, tie both ends to the Base Wrap, knotting the ends on either side of the horse’s withers. Use at least one quick release knot if possible. If your horse is tall, you may tie the knots on the same side you are standing on, then slide one of the knots to the other side of the horse. At this point, the majority of the bandage will be lying flat on the horse’s back.
Seventh
If your horse is relatively quiet, you may slide the back bandage over his hindquarters and place it just between the point of the buttocks and gaskin. If the horse has a very tight tail or hindquarters, start by placing the wrap over his tail and walk halt in hand before taking the bandage under the tail.
You now have a Bridge Wrap.
First
Begin a touch by imagining the face of clock. The clock can range from 0.5 to 1 inch in diameter. Place your lightly curved forefinger at six o'clock.
Second
Support the body gently with your free hand by placing it opposite of the active hand. This will help keep the horse in balance and enhance the effects of the T-Touch.
Third
Rub in a clockwise motion for one and a quarter circles taking care actually to move the skin and not just rub over it. Keep a steady rhythm and pressure when rubbing. Pressure can be light or firm, but it is important to pay attention to the roundness of your circle.
Forth
Place your thumb from the active hand two to three inches from your active forefinger, and feel a connection between the two fingers.
Fifth
Continue to another random spot after each circular T-Touch. You also can proceed in parallel lines on the body by executing a touch and sliding your hand to the next location. Whether you execute one touch, random touches or parallel touches, all methods will induce relaxation and improve self-confidence.
Wrap T-Touch
First
Allow your horse to sniff the bandage. Stroke his shoulder with a folded up bandage to ensure he is calm and unafraid of the new object.
Second
Take the folded bandage and pass one end under the neck to your other hand, keeping one end in each hand. At this point, both ends should meet on one side of the withers.
Third
Tie a quick release knot, placing the knot on a fleshy spot rather than a bony area.
Forth
Allow your horse to move, walking and stopping a couple of times. You have now applied a “Base Wrap”.
At this point, many horses will begin to lower their heads and adopt a more functional posture, simply from this first bandage around the base of the neck. When riding high-headed horses, attaching a Body Wrap to the front rings of the saddle can make a huge difference. Once you are confident your horse is comfortable with the Base Wrap, you can continue to the next step.
Fifth
Take the second bandage and place one end near the knotted ends of the neck wrap. If your horse is larger or longer, you may need to tie two bandages together to make the hind end piece. Unroll the bandage quietly as you stand next to the horse’s shoulder.
Sixth
Once the bandage is unrolled, tie both ends to the Base Wrap, knotting the ends on either side of the horse’s withers. Use at least one quick release knot if possible. If your horse is tall, you may tie the knots on the same side you are standing on, then slide one of the knots to the other side of the horse. At this point, the majority of the bandage will be lying flat on the horse’s back.
Seventh
If your horse is relatively quiet, you may slide the back bandage over his hindquarters and place it just between the point of the buttocks and gaskin. If the horse has a very tight tail or hindquarters, start by placing the wrap over his tail and walk halt in hand before taking the bandage under the tail.
You now have a Bridge Wrap.